


When my husband Vinny and I first moved into our first home over a year ago, the yard was in a sad state.
Background About Our House
Here is a little bit of background on our home for reference; it was built in the early 1950s and has only had one other true owner besides us. We learned that those prior owners were a couple who lived there into their 90s and passed away only one month apart from each other. A sad, but very sweet fact! We liked this history and the sense that the prior owners must have loved living there if they chose to stay for over 50 years. Needless to say, while they were toward the end of their lives, the house fell into a state of disrepair.
A contractor purchased the home from the estate of the deceased owners for a good price and he fixed up the home to flip and sell to us! As first time home buyers, we were so excited to find a small house, in our desired neighborhood, and in our budget, that did not require a ton of work. The house was toward the top of our budget, but with a brand new kitchen, refinished original hardwood floors, fresh paint, and a renovated bathroom, we could just move in and relax.
First Time Home Buyer
One mistake we did make as first time home buyers was the time of year we were shopping for a home. We were renting a condo and our landlord was putting it on the market for sale in the spring, so we needed to find a new place on a short time-line. That meant shopping for a house in the winter-time. Which, as some of you may know, is a good time to find homes that are fairly priced, sellers desperate to sell, and not much competition from other buyers. Spring and summer are the more popular times for buying and selling real estate. Our down-side, being that we live in Connecticut, was that at the end of December when we looked at the house and made the offer, the ground was covered in snow.

Our Yard was a Disaster
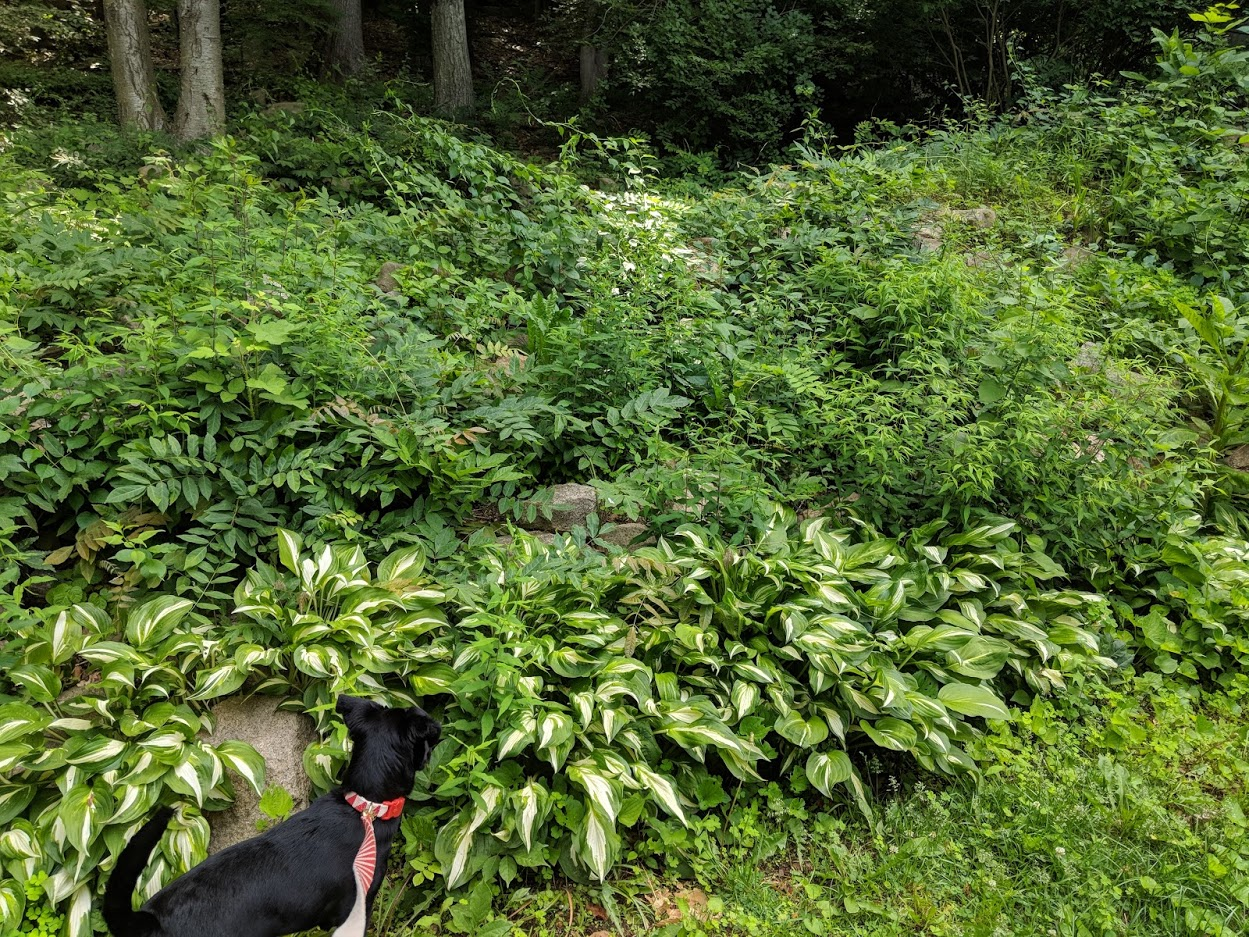
You might be wondering how that would make a difference. Well, after we bought the home in February, the snow eventually melted and spring came, we quickly realized that we had previously had no idea what the grass and yard looked like. Covered in snow, it was beautiful, however, by the end of our first summer, the backyard was a weed-jungle! There were weeds taller than me, no grass to be found, and the front yard was only comprised of moss. Added to that, the prior owners had a fondness for hosta plants. While very pretty and hardy shade plants when you have a few in your garden, they are great, but when you have too many, they’re impossible to get rid of. Our front and back yards were literally invaded by hostas, hundreds and hundreds of them grew and spread that first summer.


Here is a view of our backyard. It is hard to even tell what is what, but the puppy is for size reference!:

Landscaping Overhaul
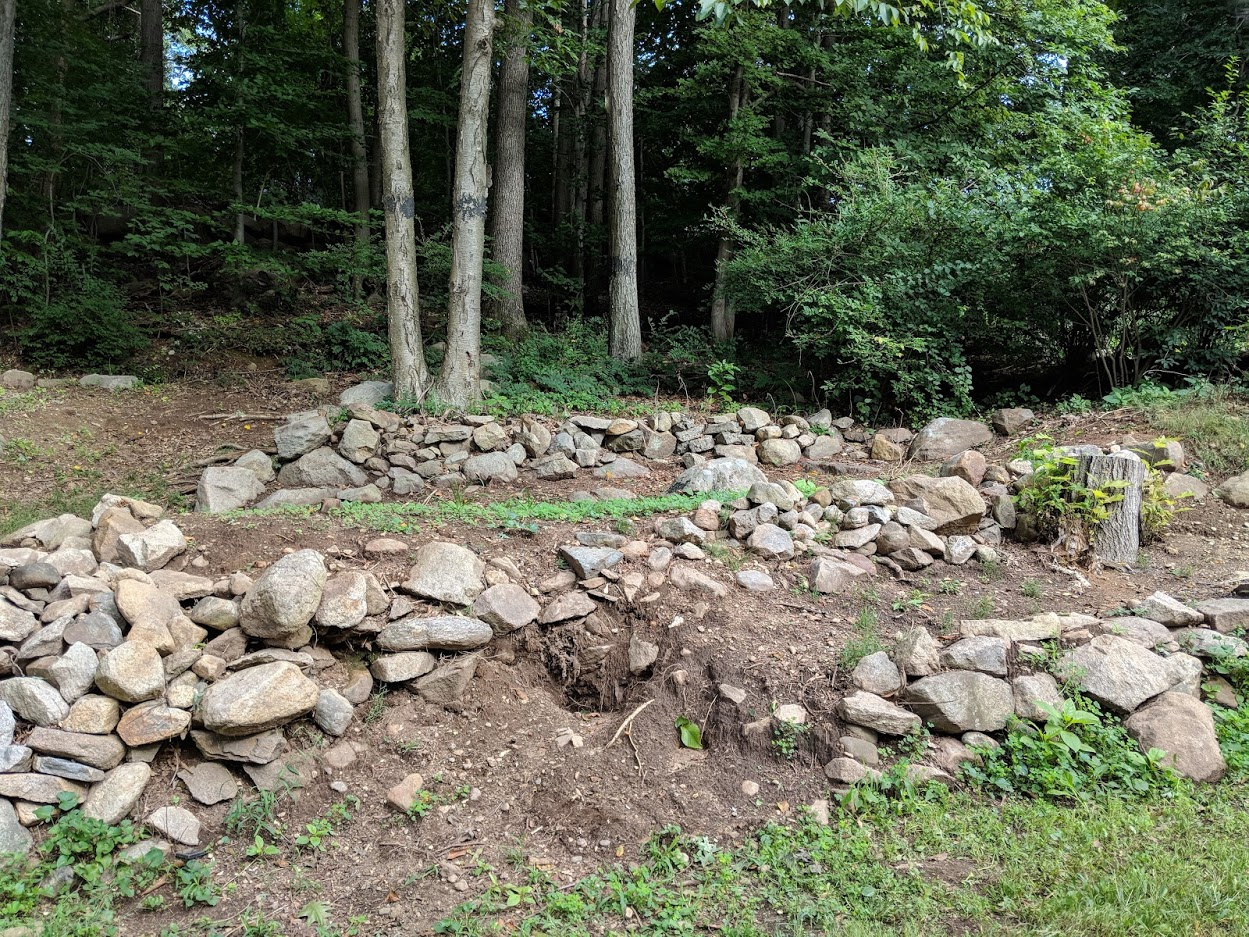
Needless to say, we were overwhelmed by the amount of time, effort, and money that we now realized we needed to put into the landscaping and yard in order to make it usable at all. Lucky for me, my husband loves landscaping and working outside, but we quickly realized we needed to bring in some reinforcements. By the end of August 2018, we had used gallons of weed-killer, which, while dangerous, was necessary due to a poison ivy infestation and the sheer amount of vegetation that had been growing for 5-10 years without any intervention. We managed to remove most of the vegetation in the backyard which uncovered many rock walls in our backyard.
Check out these rock walls! Who knew they were under that mess!?:
Rock In Yard
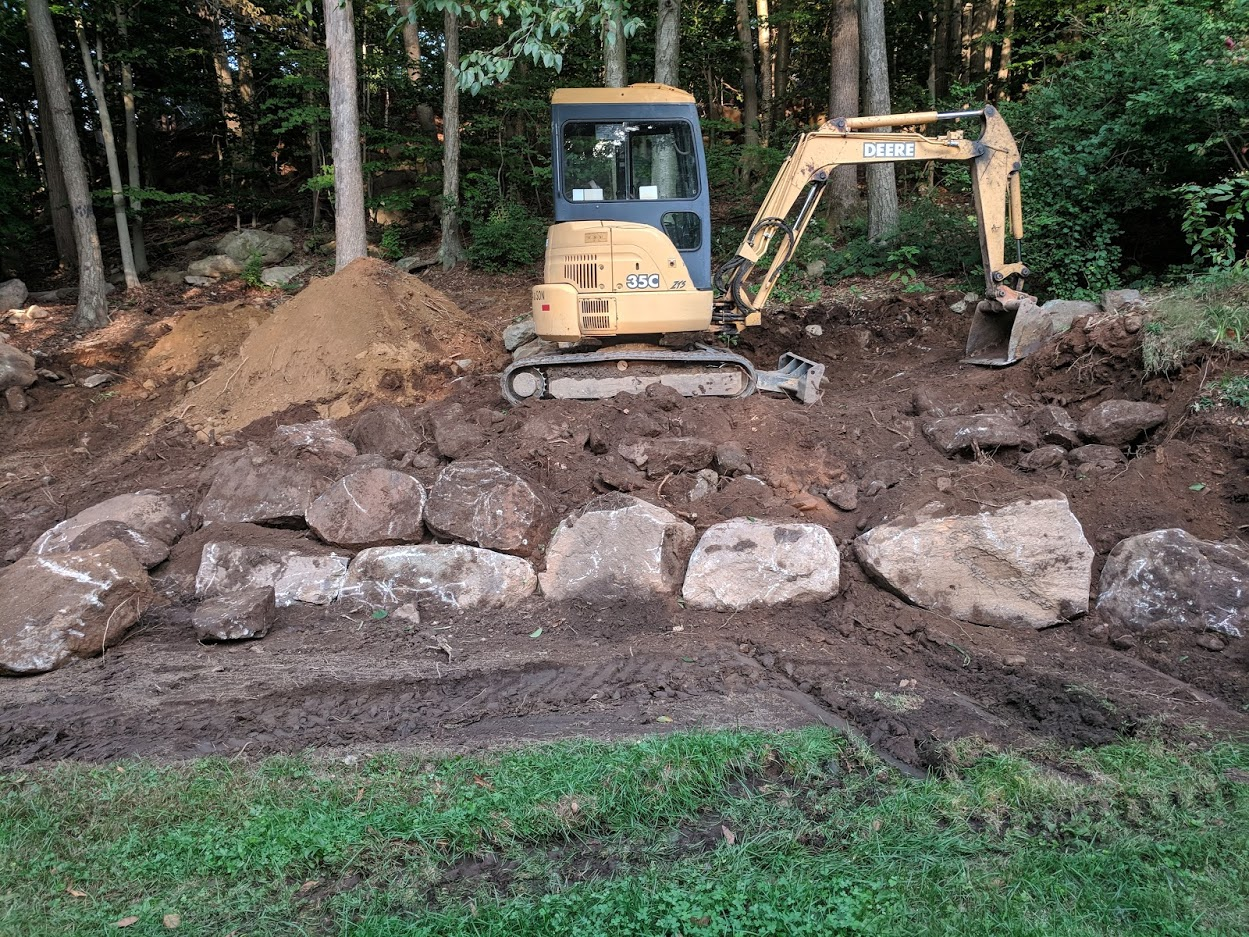
Living in Connecticut, rocky landscape is common, especially rock walls. Our backyard was full of rocks and boulders and rock walls, however they were unstable and strewn about randomly. This was when we decided we needed reinforcement. We called a few landscapers and masons to find out what could be done to make the backyard more live-able and maximize our space. We received quotes to rebuild all of the existing walls, which would cost tens of thousands of dollars… no thanks! Finally we connected with a landscaper who gave us the recommendation that we bring in an excavator and essentially tear out the whole backyard and start from scratch. As you can see from the photos, our backyard is sloped uphill, so this notion of removing all of the rocks worried me with regard to water draining down the hill and into our home. The landscaper presented the idea of maintaining the slope and rebuilding the walls but on a larger scale, with boulders! With an excavator to move the large rocks, we knew this was the time to do it if we were going to.
Taking Down the Shed
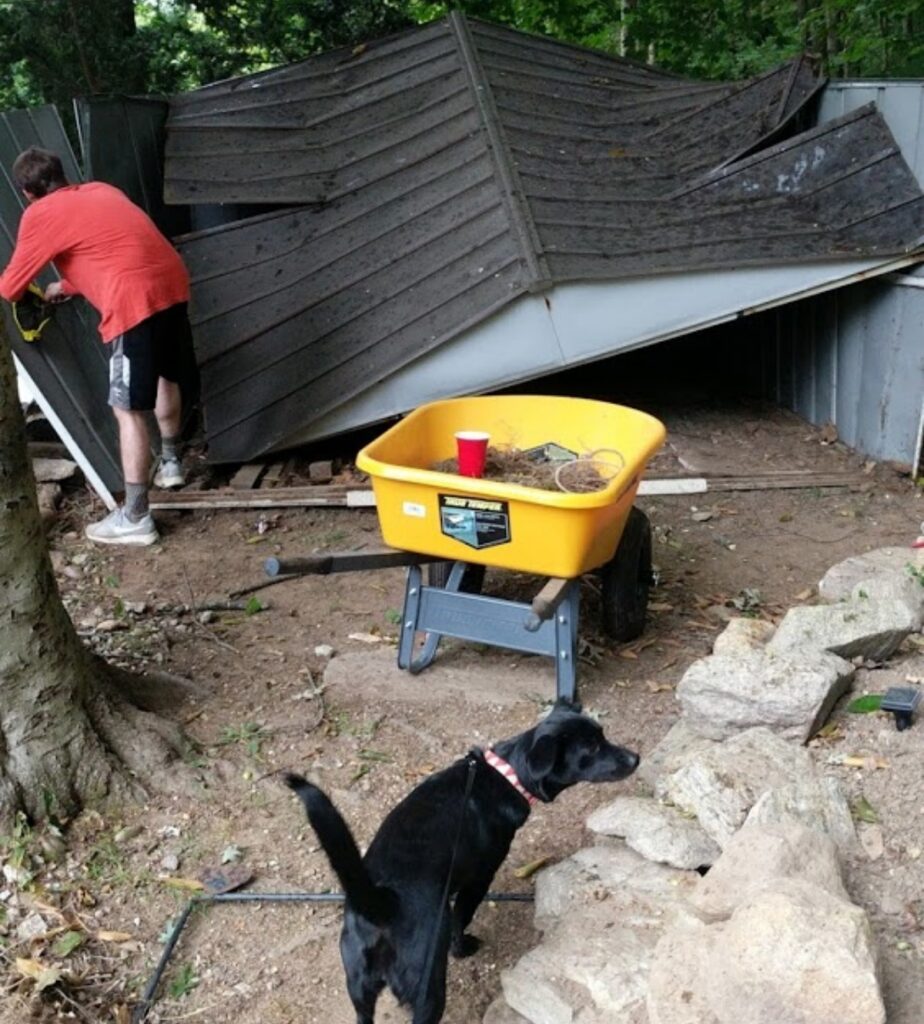
We did have to do some prep work before the landscaper came in. First we removed the old shed that was in the backyard. Not only was it in an inconvenient place, up a hill, it also was rusty and water damaged on the inside. There was no saving it! Vinny and I unscrewed each panel of the metal shed and took it to the dump.

Removing the shed:
Removing Trees
Second we had to remove some hemlock trees. Now, as Vinny will tell you, I’m not one to be super excited about removing trees if we don’t have to. However, there were a few good reasons why we had to do it here.
- The location of the trees made it impossible to get an excavator (even a small one) into our backyard. On the left side where the trees are there is a small pathway on the side of our house to get to the backyard. On the right side there is a deck attached to the house. The trees needed to be removed in order for the excavator to fit.
- The hemlock trees were used as privacy trees with regard to our neighbor on the left side. However, this type of tree has a fairly bald trunk and branches/leaves further up. This meant that you can see straight into the neighbors yard between the trunks of the trees, providing very little privacy. We are fixing this issue now!
- The trees, about eight of them, were planted much too close together for the future growth of the trees.
We Removed the Trees Ourselves
Vinny decided to take on the task of cutting down these trees himself. I stayed inside most of the time, praying they didn’t hit the house. To my surprise, he did a great job. The excavator took out all of the stumps and was able to get into the backyard without issue!
Removing them, while making the back yard even less private, made it much sunnier and open:

Landscaping with a Professional
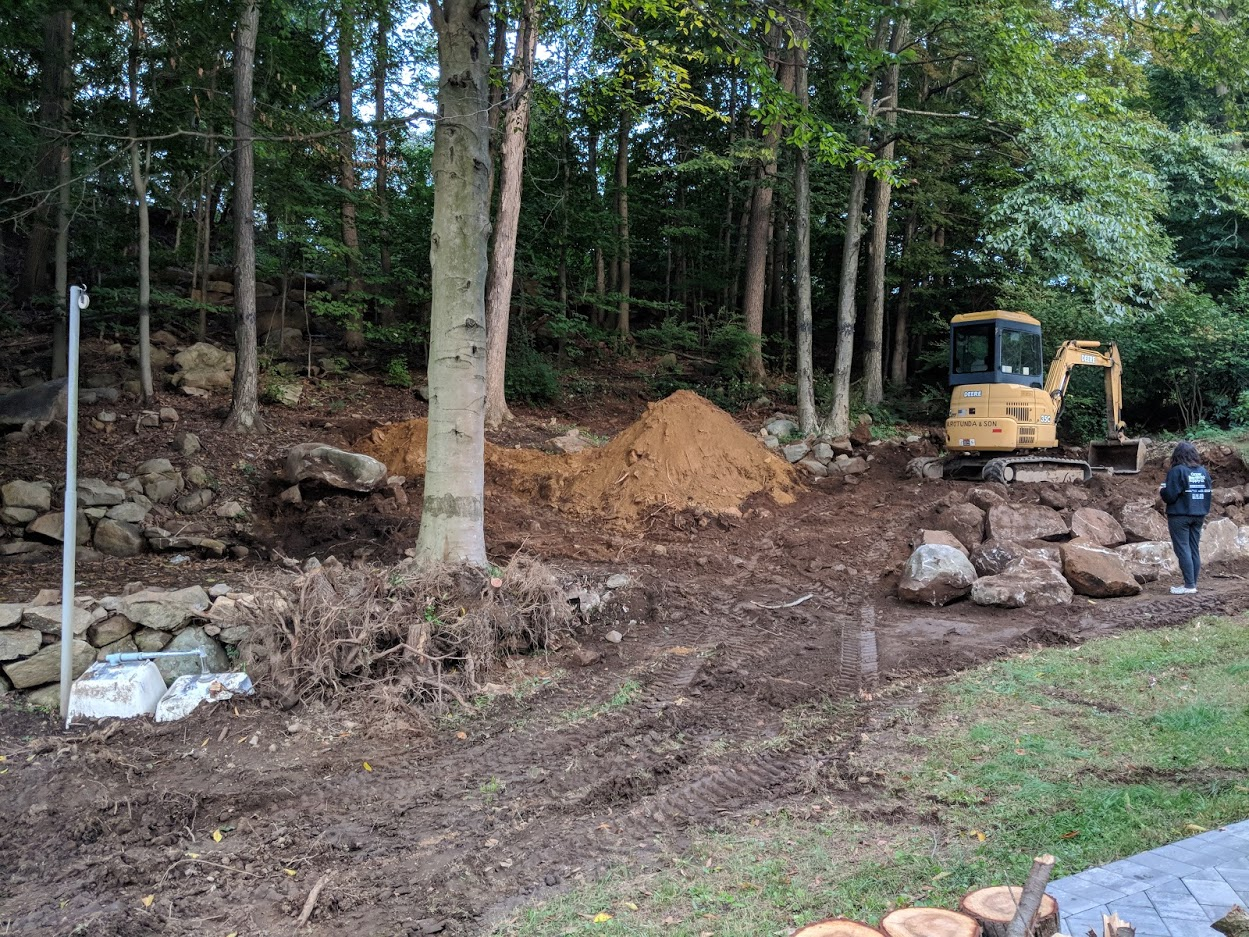
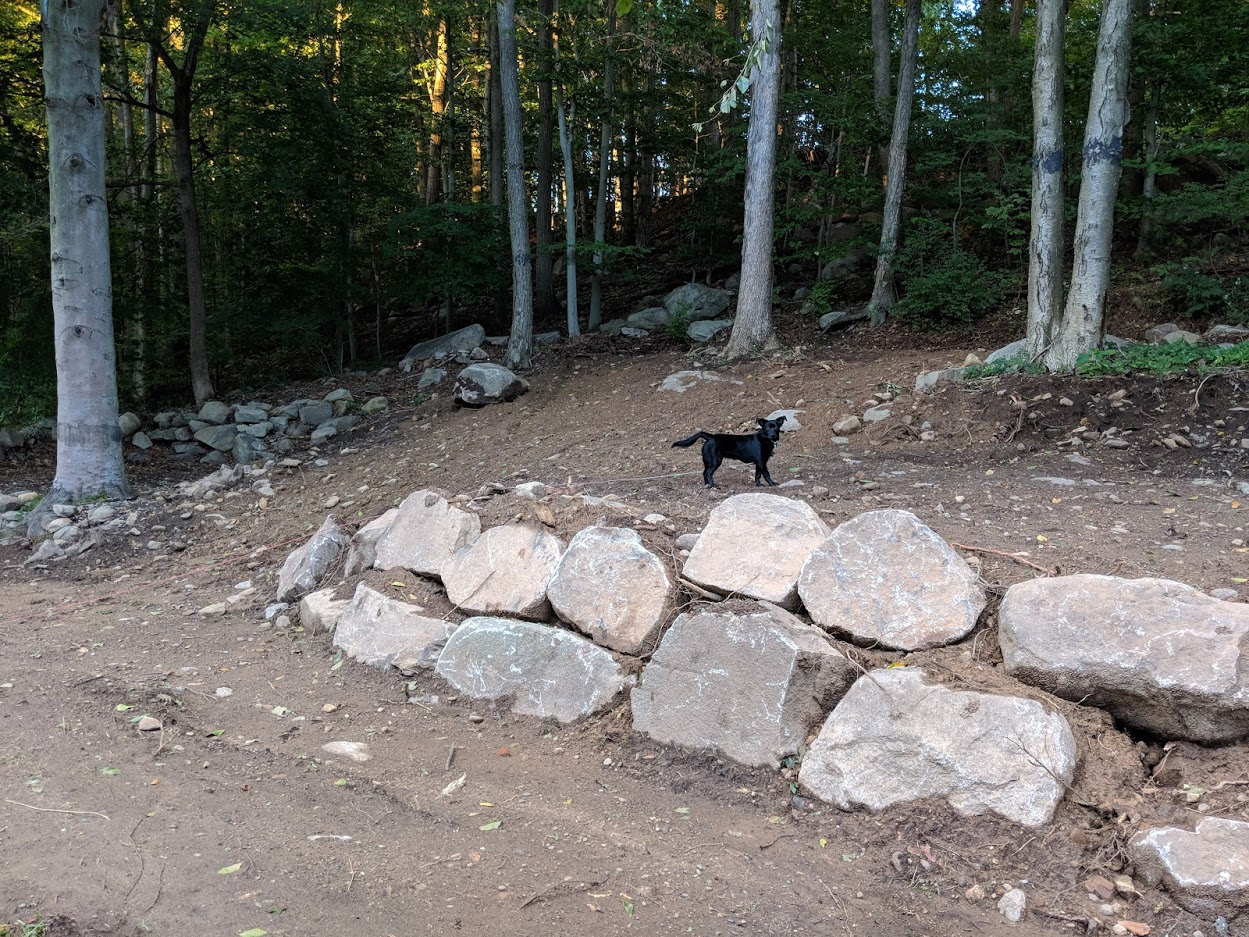
So, after prep work was complete, the landscaper came in with the excavator and cleared out all of the lingering vegetation, removed most of the existing rock walls, flattened out our backyard into three levels sloping up, and built a big boulder wall to keep it all in place. This was an amazing process to watch!
Day one:

Here I am surveying the “damage”:
Don’t worry, they didn’t let me drive it:

It took about a week for the landscaper to complete the backyard excavation, building the boulder wall, and smoothing everything out.

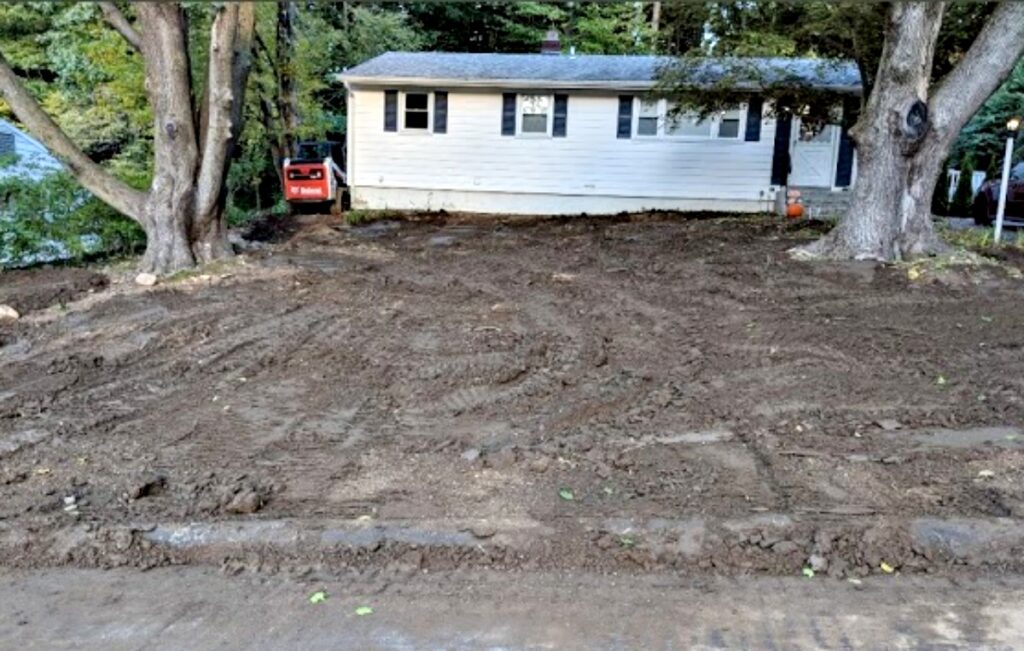
They also removed a rock wall from our front yard near the road, and sloped the yard down, which made it look much bigger and cleaner. It was not worth the money for us to rebuild that wall, as much as I wanted to! After the demo and rebuilding was complete, the landscaper dropped off and spread topsoil so we had a clean working surface.
Sod vs Grass Seed
Our plan going into this process was to spread grass seed and let it grow! However, due to the timing that the landscaper actually came and finished the job, it was early October before we could put seed down and that likely meant we wouldn’t see grass until the spring, leaving us with a huge mud pit for many months. With a puppy and no patience for that, we decided to put down sod. Our landscaper got us a really good price on sod that would work for our shady yard and delivered it to our driveway.
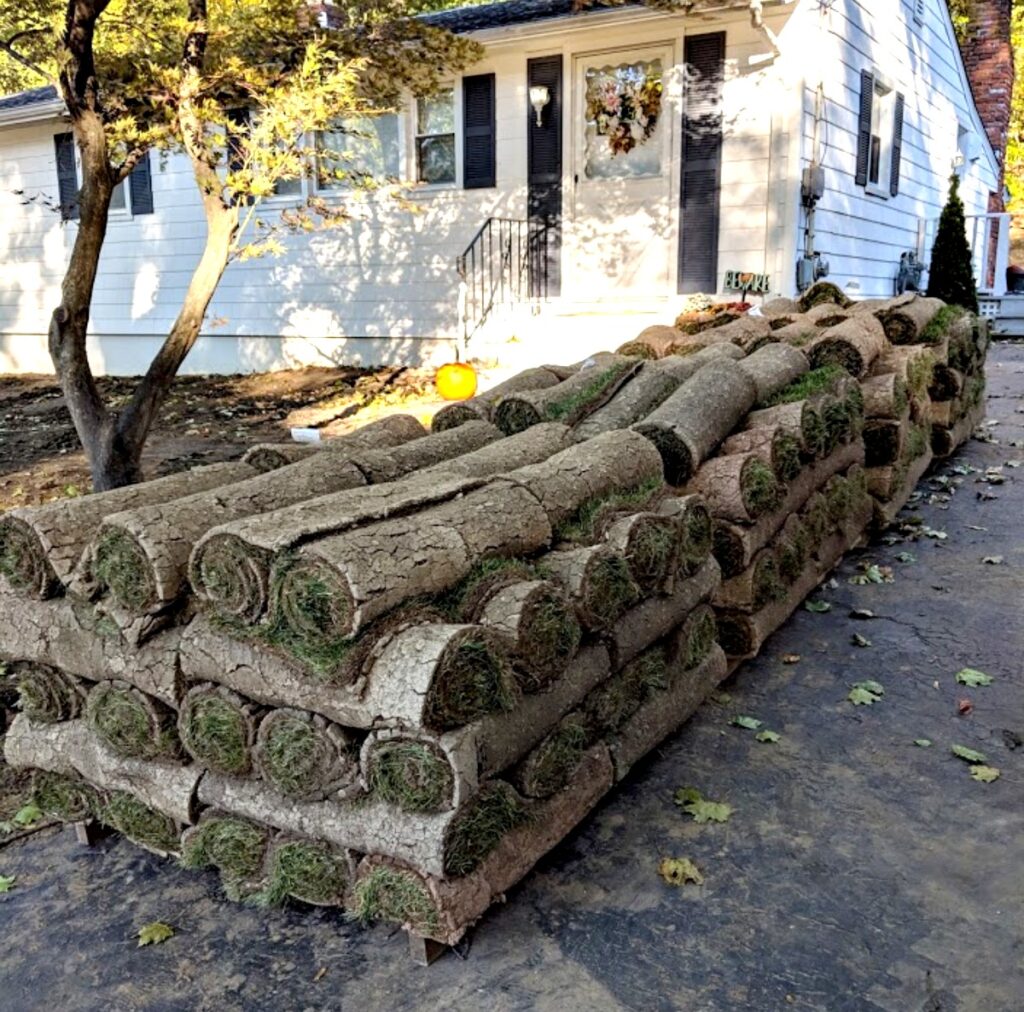
Vinny and I, but mostly Vinny, worked to lay down the sod ourselves. While this LOOKS like a fairly straightforward task, in reality it is very time consuming and VERY labor intensive.
Here is Vinny enjoying his new grass carpet after spending two full days laying sod in the backyard, with my help too!:

We definitely saved a lot of money doing it ourselves, but our backs paid the price! It took a few weeks to get the front and back yard fully covered in sod, and we were so pleased with the results. We spent a bit more money, but it had such a big and immediate impact. We felt much more proud of our home and the work we put into getting it to where it is now. That’s not to say we didn’t make a bunch of mistakes and realized a few things we could have changed looking back, but it was definitely still worth it.
Here is the finished result in the backyard, right around Halloween when we finished:

It made a world of difference!:

Here is an action shot of Vinny laying sod in the front yard:

What We Learned
- The landscaper was supposed to remove all hosta plants before putting down the topsoil. If anyone has removed a hosta then you know that you need to take out the entire root system to avoid regrowth. Come springtime, we had hosta plants popping up through our sod! They’re stubborn little plants!
- The landscaper was supposed to grade and level both the front and back yards. This spring we can tell where there are some uneven areas where the grass isn’t doing as well because water is pooling, or the ground isn’t level enough. Having the right tools may have allowed us to fix this as we put down the sod, but alas, we did not know!
- We have two large maple trees in the front yard. We didn’t realize that one of them definitely needed to be taken out, and we had to do it this spring which ruined some grass and left a nice big hole in the front yard. Take out trees before putting down sod! We didn’t plan on doing either!
- Plan out your garden beds as best as you can before laying down the sod. This limits your waste and having to remove it later. We also wish we planned out where our new shed would go so we didn’t waste sod under the shed either.
We Love Our New Yard
Overall we are super proud and happy with the end result. Our yard is twice as big with much more usable space. You don’t get attacked by weeds and poison ivy just stepping out the door, the dog can run around freely, we have more space for activities and fun new spaces to hang out. I’ll be sharing some of the smaller projects we’ve worked on this summer now that we could focus on other things! We took photos all along the way that I’m so glad I have to be able to share with you! Think about making a shared family album of your house progress. It’s amazing to look back and see how much you’ve accomplished.


I hope this inspires you to tackle your next big backyard project, clear out an overgrown garden bed, or even lay down some sod! I hope you learned from some of our “mistakes” and have fun in your own garden!
What’s Next?
Landscaping, landscaping and more landscaping. Oh and some more rock walls. Stay tuned for more….